")
")


FAQ about Government Schools for Special Needs Children (Sekolah Pendidikan Khas)
by on 02/08/2025 ...
")
In Malaysia, “Special Needs Students” refers to students who have been officially recognized by medical professionals, such as doctors, opticians, audiologists or psychologists, whether through government or private services. These students may have different challenges, including visual impairments, hearing impairments, speech disabilities, physical disabilities, learning disabilities, or a combination of these disabilities.
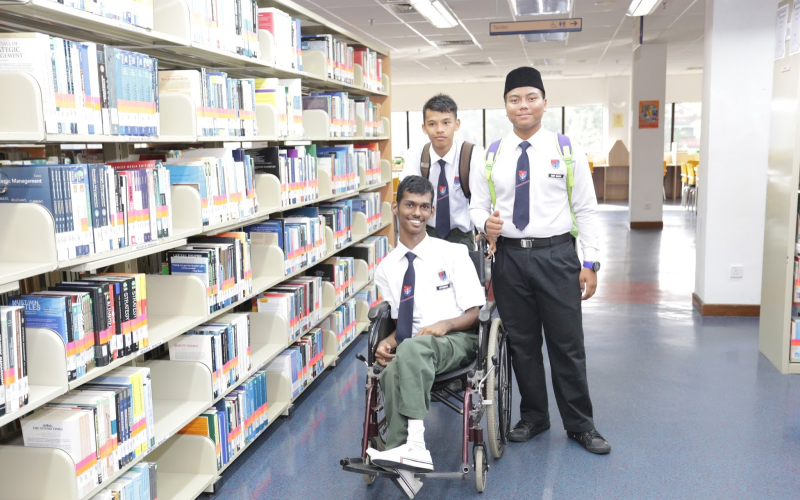
Image credit: OhBulan!
What are the educational pathway options available for special needs children?
The Ministry of Education (MOE) offers children with disabilities who possess an OKU card, and are of school-going age (7 years old), the option to enrol in either of the following educational pathways:
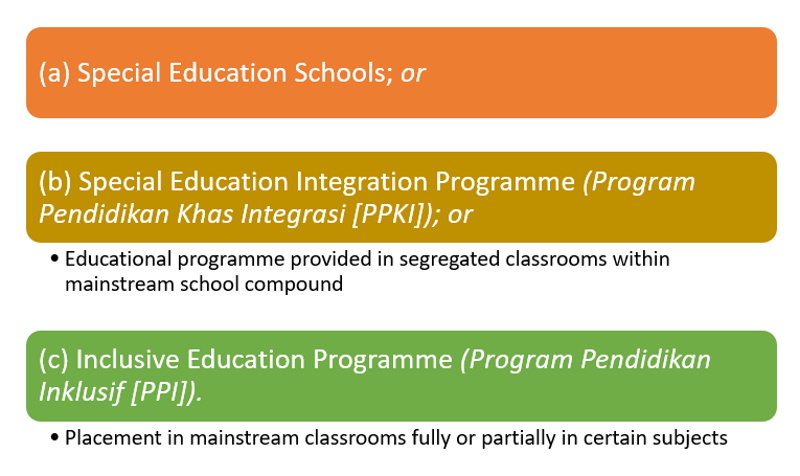
Students with disabilities who find it challenging to keep up with the national curriculum will receive instruction based on the alternative curriculum known as the Special Education Curriculum for Learning Disabilities (Kurikulum Pendidikan Khas Bermasalah Pembelajaran).
Every student who falls under the jurisdiction of the MOE’s Department of Special Education is entitled to an Individualized Education Plan (IEP), which is reviewed annually and communicated to parents. Parents may access their child’s IEP through the Individualized Education Plan System (Sistem Rancangan Pendidikan Individu [RPI]).
What are the special education programs offered by the MOE?
The MOE has introduced the Special Education Programs to tackle the issue of dropout rates among students with special needs. They include:
(a) Special Recovery Program
The Special Recovery Program was implemented since the 1960s to assist primary school students who encounter specific learning difficulties, particularly in acquiring fundamental reading, writing and numeracy skills (3M).
In 1983, the Malaysian education system introduced the New Lower School Curriculum (Kurikulum Baru Sekolah Rendah [KBSR]), which emphasized the mastery of essential skills. The Special Recovery Program was established in each primary school to address these challenges.
Additional information regarding the Special Recovery Program can be obtained here.
(b) Inclusive Education Program
The term “Inclusive Education Program” pertains to an educational initiative designed for students with special educational needs, where these students study alongside their peers in the same classroom setting at government or government-assisted schools. The program promotes inclusivity by providing an environment that fosters collaboration, support, and equal opportunities for all students.
For more detailed information about the Inclusive Education Program, click here.
(c) Integrated Special Education Program (PPKI)
The Integrated Special Education Program (PPKI) aims to achieve the following objectives:
- Facilitate equitable and effective educational access for all Special Needs Students (Murid Berkeperluan Pendidikan Khas [MBK]).
- Enable Special Needs Students to develop their talents and learning potential through vocational education, acquiring skills that enhance their quality of life.
- Provide Special Needs Students with the opportunity to participate in the Early Intervention Program, optimizing their abilities and potential.
- Offer Special Needs Students access to educational programs that nurture their existing potential, enabling them to become semi-skilled individuals who contribute positively to the nation.
- Foster inclusive placement of potential Special Needs Students within mainstream classrooms.
For further details about the Integrated Special Education Program, please refer to the resources here.
(d) Special Education Service Centre (3PK)
The Special Education Service Centre (Pusat Perkhidmatan Pendidikan Khas [3PK]) is a local centre that offers intervention support, rehabilitation and consultancy services in specific fields such as Audiology, Psychology, Language Speech, Occupational Therapy and Peripatetic.
The centre plays a crucial role and performs various functions, including:
- Conducting screening programs to identify students with special needs characteristics.
- Administering tests and assessments using specialized equipment and standard instruments to identify specific challenges faced by children and special needs students.
- Implementing intervention and rehabilitation programs to minimize the impact of disabilities in children and special needs students.
- Implementing early intervention programs that focus on various developmental domains, preparing these children for school.
- Providing consultancy services in areas such as Peripatetic, Audiology, Language Speech, Occupational Therapy and Psychology to support the comprehensive education of special needs students.
The centre offers support services in the following areas:
- Audiology
- Language Speech Pathology
- Peripatetic
- Occupational Therapy
- Psychology
For additional information about the Special Education Service Centre, click here.
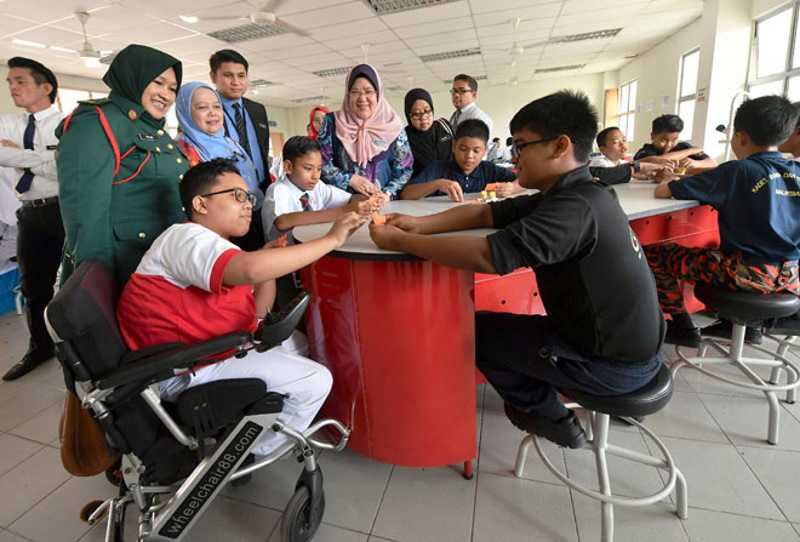
Image credit: Utusan Borneo
Where can I find a list of special education primary schools?
At present, the MyGovernment Portal exclusively provides search capabilities for schools under the MOE only. Additional information will be updated periodically.
To access the list of Special Education Primary Schools, head over to the School Search System.
How can I apply for admission into a National Special Education School?
For all states in Peninsular Malaysia, applications for student enrolment into Year One must be made online through the MOE’s Online Registration System (Sistem Pendaftaran Atas Talian Kementerian Pendidikan Malaysia [SPATKPM]).
Applications for Sabah, Sarawak and the Federal Territory of Labuan are to be done manually through schools. Parents or guardians should visit schools and fill out the student placement application form for Year One.
How can I check the admission status?
Parents or guardians who have submitted an application for preschool entry can check the status of their application using the following methods:
Online: Review the admission status of the school through the MOE’s Online Registration System.
Manually: Review the application status through the respective schools where the application was submitted.
What should I do after receiving the offer letter?
The registration information, supporting documents and any other required items for registration will be listed in the offer letter of application. The offer letter will be sent to the respective schools or can be obtained by contacting the specific school in question. During the registration process, parents or guardians should bring along all the documents specified in the offer letter.
For parents in need of guidance, our exclusive directory of special needs centres offers a lifeline of invaluable support and tailored resources to assist with your child’s unique needs and challenges.